


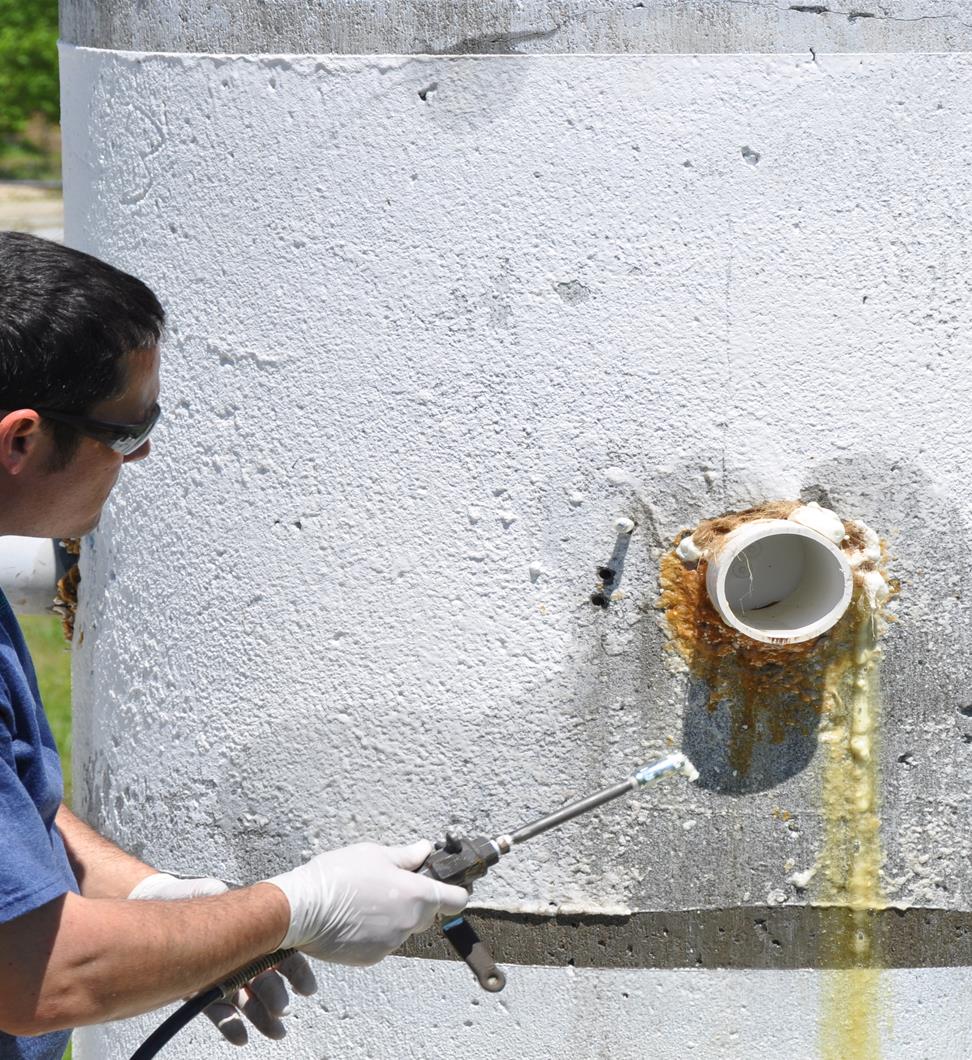
Problem: Joints in precast concrete are often irregular or they can become separated over time. Mastic joint seal material is often damaged or not installed properly and fails to seal the joint. This allows ground water infiltration, which can lead to soil erosion around the pipe or structure—and voids.
Solution: Sealing joints with activated oakum and injected chemical grout.
TECHNIQUES
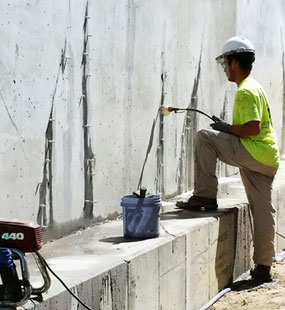
This process is used to fill the void between precast sections (of pipe, culvert, vault, etc.) within the inside face of the joint and to form a fiber-reinforced primary seal. When using this technique as a prerequisite containment seal for chemical grout injection, attempt to keep the oakum seal in the first 2 inches of the joint’s inside face. This will serve to contain the chemical grout resin during the injection process. During expansion the activated oakum can be worked by hand to be flush with the inside face of the pipe or can be ground flush after curing is complete.
Note: Always wear protective eyewear, clothing and chemical resistant gloves when handling polyurethane resins. You will need two clean, dry 5-gallon pails. Use one pail to soak the oakum and resin, and one pail for clean water.
Steps:
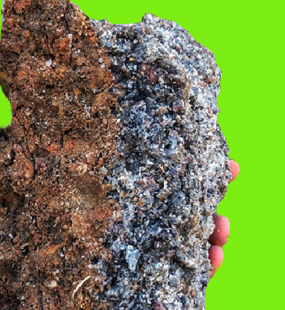
- Oakum rope material is unwound and cut into manageable lengths, 3-4 ft., and placed in one clean, dry empty pail or trash can. It is important to untwist the strands so that the resin can easily absorb into the oakum. It is important to keep the oakum dry until you soak it in resin or its absorption of resin will be diminished. Do not leave a cardboard box of oakum on a wet surface
- Prime Flex 900 XLV (eXtra Low Viscosity) hydrophilic chemical grout resin or Prime Flex 940 (hydrophobic) is poured into the pail to completely cover the oakum pieces. Dunk, prod or squeeze the oakum in the resin to encourage full saturation.
- Once the oakum is thoroughly saturated, remove one piece at a time, pulling the strand through your gloved thumb and index finger to strip off excess resin.
- a) Dip the resin-soaked oakum into water and agitate briefly, 5-10 seconds, to activate the chemical grout resin
OR
- If you need more time to place the oakum before it is activated––such as in a hard to reach place or when covering a large area––you can wet the surface to be treated with a pressure sprayer of water, place the resin-soaked oakum, then thoroughly wet the oakum with the water-filled pressure sprayer to activate the resin. If applying multiple layers or an extremely thick layer, wet each layer as you go to ensure good reaction of the grout.
- Remove the activated oakum rope and fold or twist to a size appropriate for filling the gap in the joint. For tight joints or cracks it may be necessary to further separate the strands to a size that can be inserted with a screwdriver blade or utility knife. Begin filling the joints at the lowest point and work your way up taking care to overlap each segment four to six inches so no gaps are left in the joint.
- As the chemical grout expands, continue to hand work the activated oakum into the joint to achieve a flush profile with the face of the joint.
Chemical Grout Injection
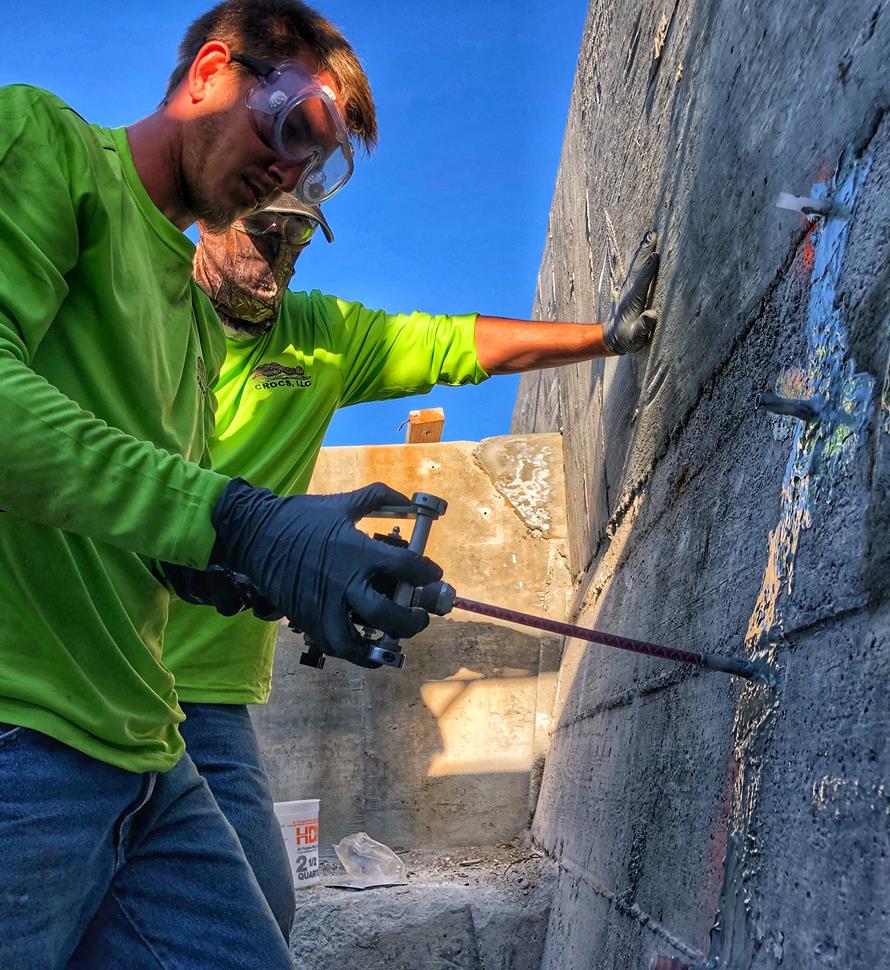
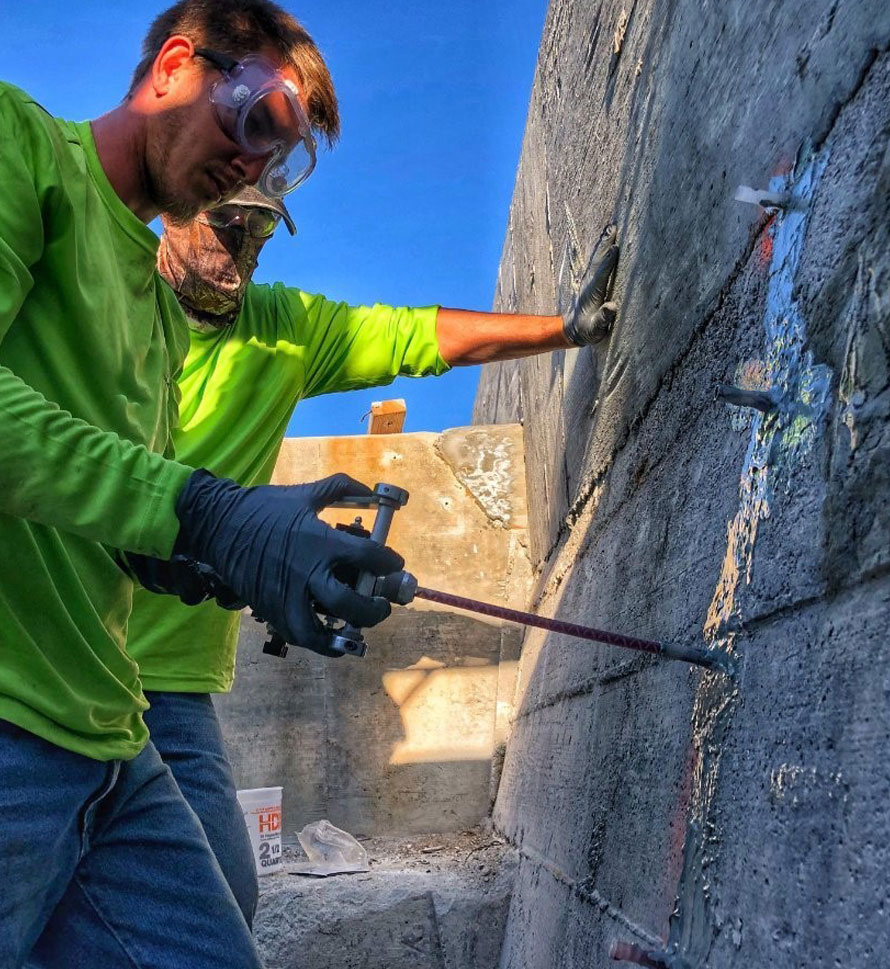
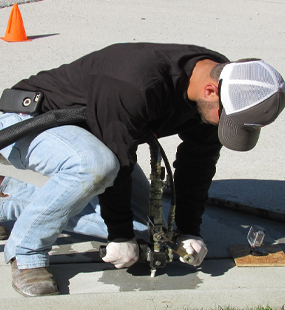
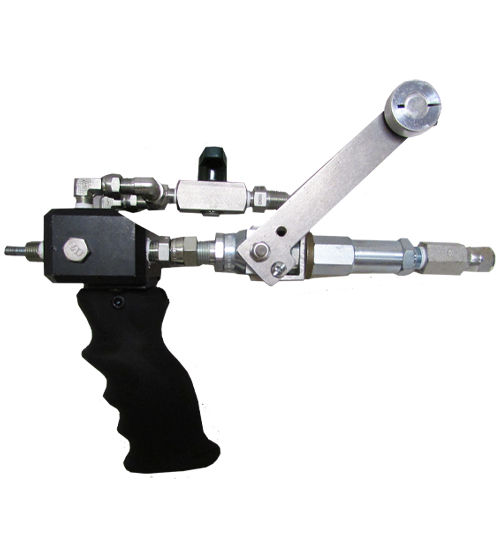
Use a single-component pump for chemical grout injection or dual-component pump for injection (with water, used for sealing slow or gushing leaks in joints). Access to the interior of the joint can be achieved by drilling holes that intersect with the interior of the joint or by using a grout needle to penetrate the activated oakum containment seal.
- Seeping leaks – Inject by twin streaming (see sidebar) Prime Flex 900 XLV with water at a 2:1 resin to water ratio. Joints less than 1⁄4” can be injected with neat resin as long as adequate water exists in the joint to activate the material. Always inject water prior to injecting chemical grout to clean drill dust or contaminates out of the joint.
Procedure:
- Thoroughly flush joint with clean water to clean out contaminates and debris.
- Seal the surface of the joint by wedging activated oakum in the face of the joint.
- Drill appropriate size holes for the port system used such that the hole intersects with the interior keyway of the joint. The hole placement around the circumference of the pipe should be at 4 and 8 o’clock and 10, 12 and 2 o’clock. The 12 o’clock hole is a visual aid so that you can visually confirm that grout has traveled all the way around the circumference. If foam doesn’t appear in the 12 o’clock hole, inject it as well to ensure a complete seal.
- Flush out holes with clean water.
- Install ports in the holes. Do not install the zerk grease fittings in the ports at this time.
- Beginning in the 4 o’clock position install zerk fitting into the port and begin injecting resin neat or with water at a two parts resin to one part water ratio. (* See note below #2.)
- As the resin expands it will follow the joint path and come out of the next set of ports at 8, 10, 2 and 12 o’clock. When this occurs, install the zerk fitting on those ports to seal off grout and move to that port. Continue this process until the entire circumference is filled. If the foam has not traveled all the way around, move to the last port that showed foam and inject more resin to advance grout all the way around the circumference.
- After chemical grout is cured, remove all ports and fill holes with Prime Gel 2200.
- Remove cured excess grout from the inside face of the joint flush to inside surface of pipe.
- Optional: Once dry, apply Prime Gel 2200 epoxy over the face of the joint. Overlap joint approximately 1.5” on either side of joint and maintain minimum 1/8” thickness.
Note: Keep a small amount of dry oakum handy during the injection process to plug off any seepage that comes out the face as it tracks around the joint.
- Gushing Leaks – Inject Prime Flex 920 with a single-component pump. Begin injection with 5% Kat mixed into resin prior to injection. If faster reaction time is necessary, increase Kat to 10% or use Kick Fast Kat.
* Note: Hole location is determined by the flow and pressure of the leak. Holes should penetrate the outside of the pipe. You may have to increase the distance off the joint in the vicinity of the leak to give the grout time to react and seal the joint. Try to position holes on the side of the joint the water flow is coming from. The hydrostatic pressure of the water will carry the chemical grout to the joint and seal it from the outside in.
Procedure:
- Install activated oakum in the interior face of the joint to slow leak flow and contain grout within the joint.
- Drill appropriate size holes for the port system you are using. Locate hole in the vicinity of the leak as noted above. Holes should be placed in the lower third of the pipe first and work your way to the top. Holes should be deep enough to penetrate the outside of the pipe.
- Flush hole with clean water. (If water doesn’t flow from the hole.)
- Install ports. Do not install zerk fittings at this time.
- Install zerk fitting in the lowest port and begin injection. Inject in short intervals allowing the chemical grout material to react. Monitor grout movement in the joint and through adjacent holes. When grout reaches an adjacent port, install zerk fitting to plug the port and continue injection at that location.
- Continue process until joint leak is sealed.
- After chemical grout is cured, remove all ports and fill holes with Prime Gel 2200.
- Remove cured excess grout from the inside face of the joint flush to inside surface of pipe.
- Optional: Once dry, apply Prime Gel 2200 epoxy over the face of the joint. Overlap joint approximately 1.5” on either side of joint and maintain minimum 1/8” thickness.
Safety Considerations:
- Always wear protective clothing, chemical resistant gloves and safety goggles at all times when handling resins. Blowouts can occur when injecting resins at high pressure.
- Polyurethane resins contain isocyanates, which can cause respiratory irritation. Use mechanical ventilation in confined spaces.
- Be careful of electrocution when working with power equipment in wet environments. Keep water off of electrical cords and equipment.
- Carefully read MSDS prior to handling any chemical.
- Keep first aid kit (eye wash, bandages, etc.) present on site with easy access.
Materials List:
- Prime Flex 900 XLV
- Prime Flex 920
- Prime Kat or Kick Fast Kat
- Oil free / dry oakum
- Optional: Prime Gel 2200
Equipment List:
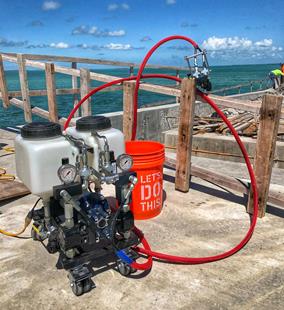
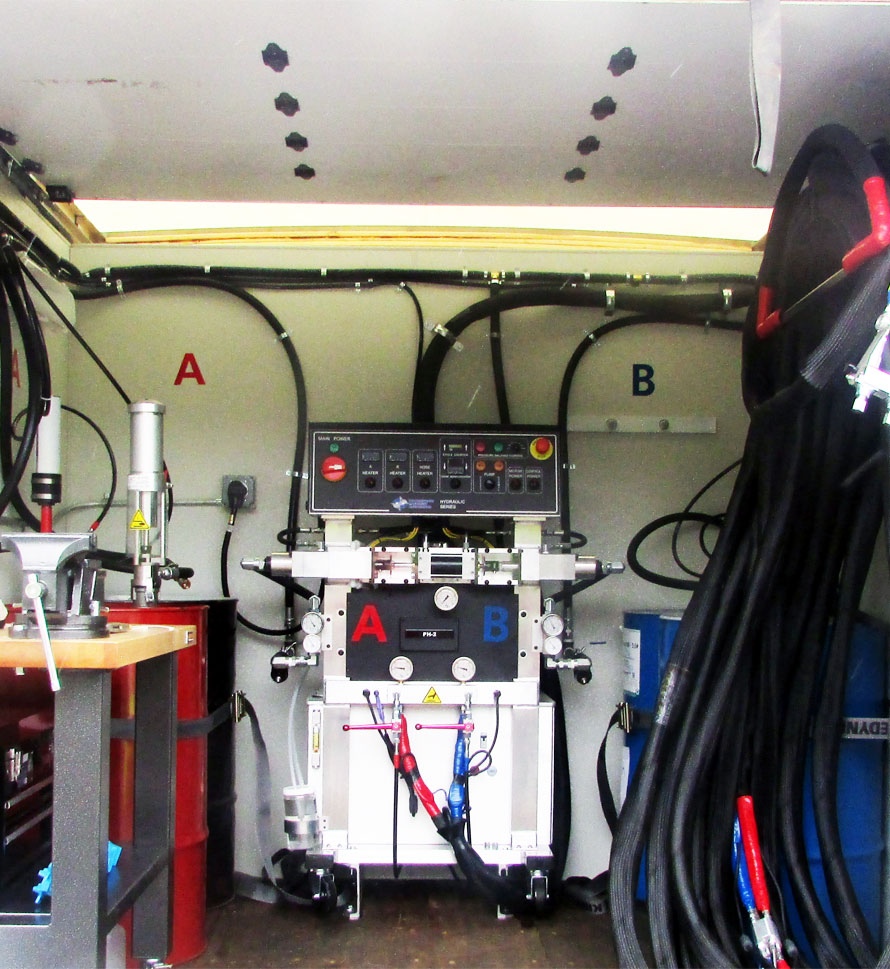
M2 pump system
Titan 640i
F-valve
Grout needle
Flow control valve
Bang-in port
1⁄2” mechanical packer
Wall stinger nozzle
Empty pails
Hammer drill
Rags
Related Documents:
“Twin Streaming” – Water and resin are injected at the same time. Prime Flex 900 XLV, water-activated hydrophilic polyurethane resin and water is injected by grout needle, penetrating through the oakum seal or flow control valve through injection ports installed in small diameter holes drilled to access the inside of the joint. Optimum resin to water ratio is 2:1.