


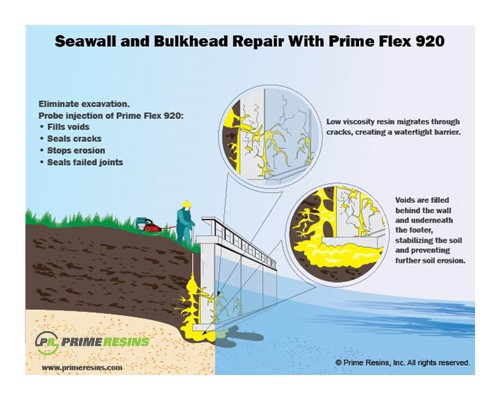
Scope of Work: Probe injection of Prime Flex 910 or 920 behind a seawall or bulkhead
Problem:
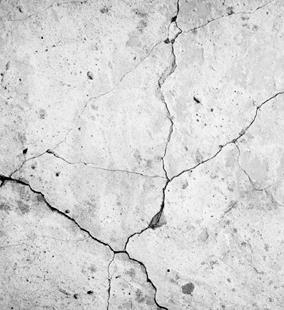
There is a leak in the seawall or bulkhead that causes soil loss. As the tide comes in or waves hit the wall, water penetrates the wall, soaking the substrate behind the wall. As the water recedes, it takes soil with it, creating voids. Perhaps there is a gap under the footer where soil erodes, undermining the seawall.
Solution:
Prime Flex 910 or 920 structural polyurethane chemical grouts seal active leaks in seawalls, fill voids, and stabilize the soil behind it.
STEP ONE: SOIL ANALYSIS
Complete a soil analysis and probe for voids. The contractor may need this to determine proper probe placement and to identify potential problem areas and natural differences in soil composition. Prior to injecting, ensure that soils contain enough moisture to fully react the grout OR use a plural-component pump to inject water and grout simultaneously (twin streaming) through injection pipe/probe.
NOTE: Void filling generally requires twin streaming if a large volume of grout is needed. This ensures activation of all grout, not just what first contacts moisture in the soil. Twin streaming also yields a more consistent and uniform foam throughout.
When twin streaming, use a ratio of 10:1 grout:water.
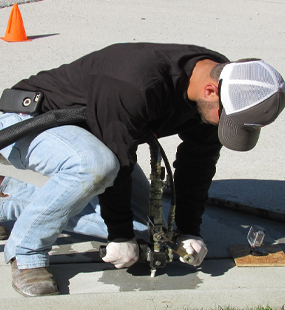
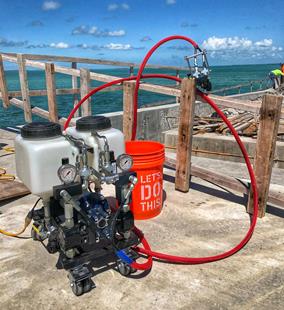
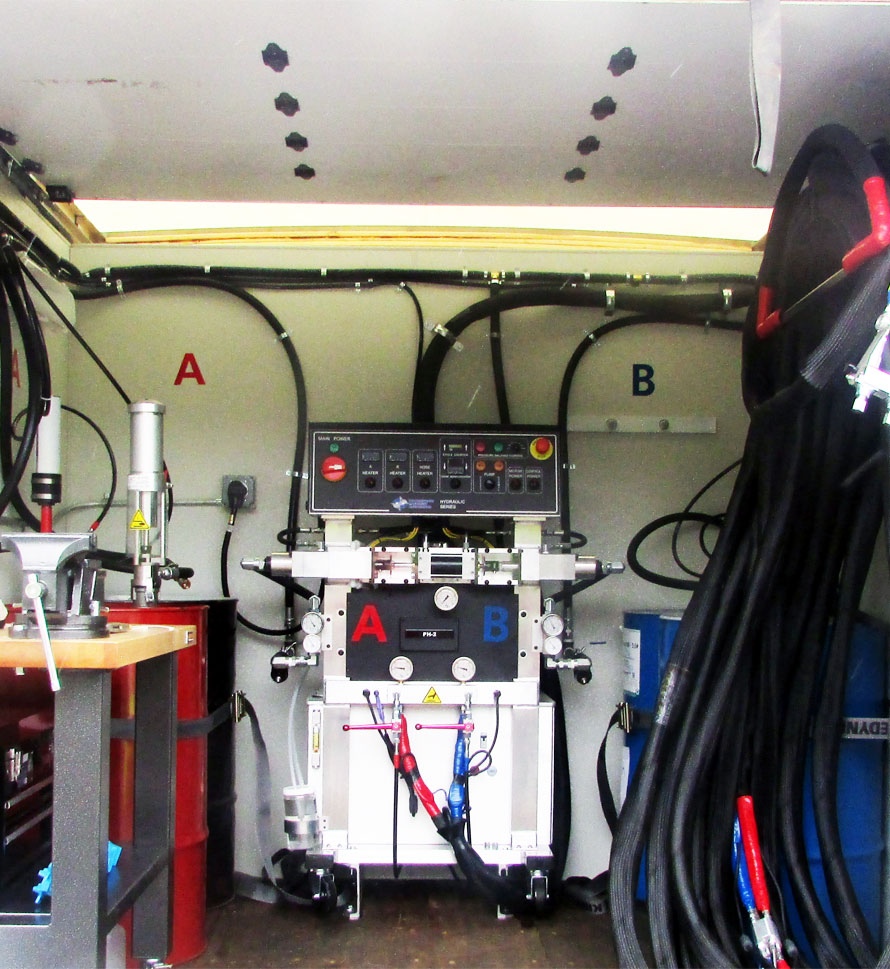
We recommend a pump capable of injection pressures from 100 psi – 2500 psi. The flow rate of pumps should be .33 gpm minimum. Manually operated or hand pumps are unacceptable. Do not use a manual pump.
STEP TWO: DETERMINE PROBE SPACING
Determine appropriate spacing and depth placement for injection probes to successfully seal, stabilize and fill the area as shown in drawings. Test sections may be necessary to determine the best probe spacing depending on soil types and conditions encountered.
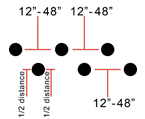
Typical spacing will vary between 12” – 48” in each direction and if multiple rows are needed, then each row shall be offset half the space distance.
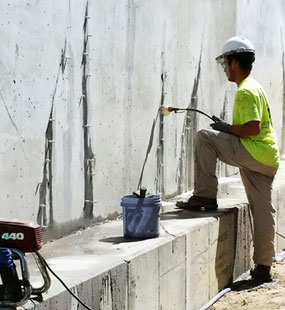
Use Prime Resins soil probes or expendable drive points to keep dirt from clogging the pipe during driving. Pipes may be placed by a manual driver, a pneumatic driver, auger, water jetter or other method approved by the engineer prior to placement.
STEP THREE: TEST CATALYST LEVELS
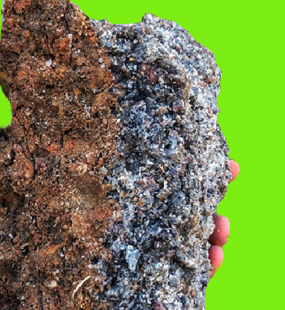
For soil grouting: To determine the best ratio of catalyst to grout, gather three one-gallon containers of compacted soil typical of the injection area and prepare three eight-ounce samples of grout.
One sample of grout should be catalyzed with 1% catalyst, the second with 3% catalyst, and the third with 5% catalyst. Make a hole approximately 2” in diameter extending three-fourths of the distance to the bottom in the center of each compacted soil sample.
Pour one mixture of catalyzed grout into the center hole in each soil sample. Press the soil back
over the hole and allow the grout to cure for approximately 15 minutes. After the material has cured,
dump out the contents of the containers and determine which mixture of grout and catalyst has produced the best pattern of migration.
STEP FOUR: DETERMINE AMOUNT OF GROUT NEEDED
Determine the amount of grout needed for each probe to ensure all locations within the work
area are fully grouted. Check for voids using a probe. Grout using the “Lift Grouting Technique”
where the pipe is raised or jacked up and grout is injected in 12”-18” intervals or lifts. The contractor should determine the amount of grout injected at each lift based on soil conditions for that area. Injection pressures will vary depending on soil conditions. We provide a void calculator here.
NOTE: Grouting seawalls can also be done via the “through wall” method. This involves drilling holes through a wall (or footer) and grouting via these holes. Please reference the “Curtain grouting through wall” Prime Practice.
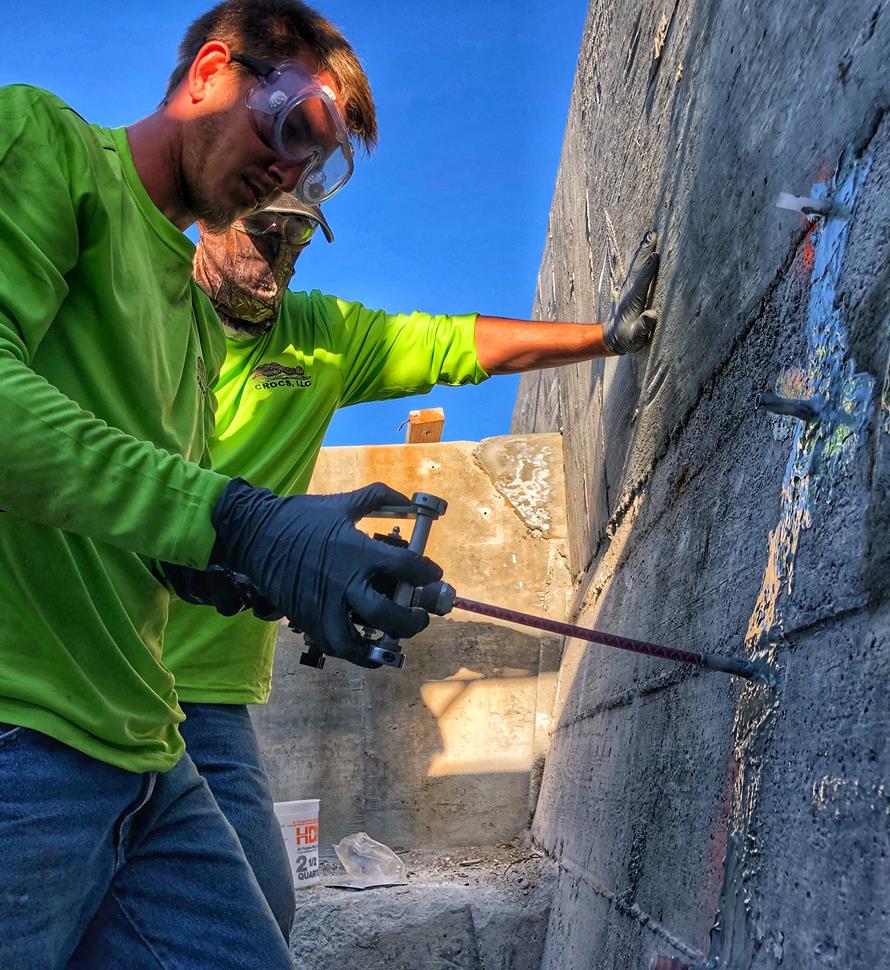
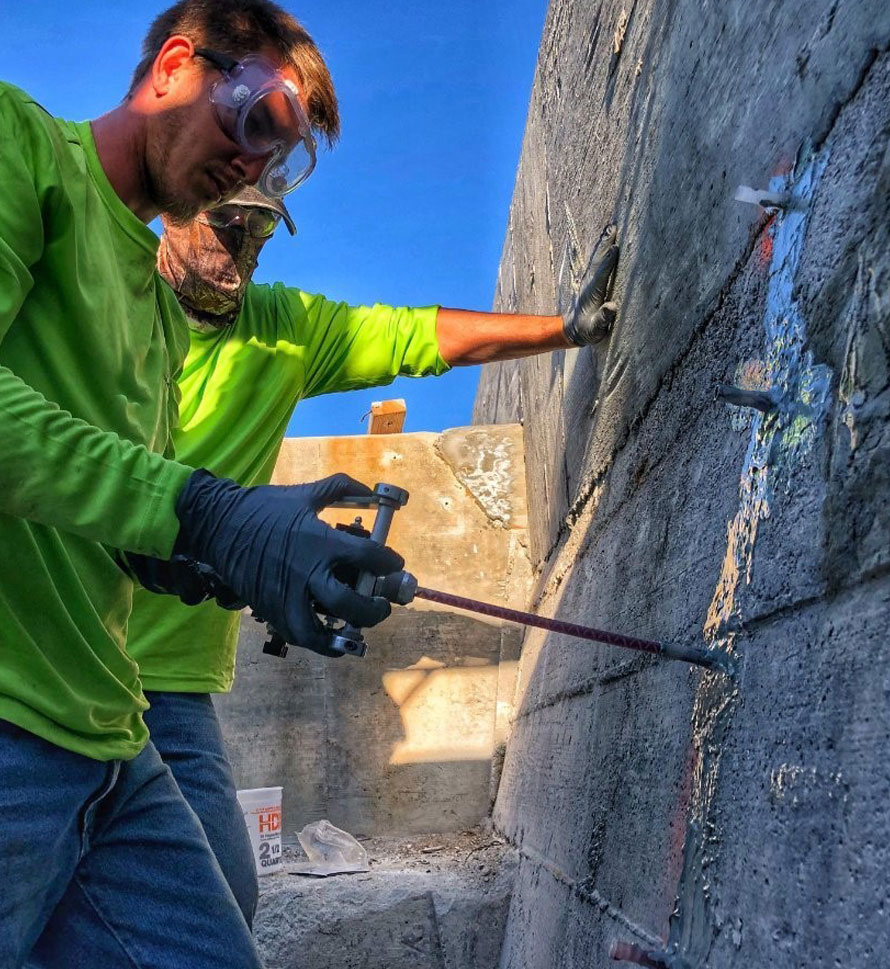
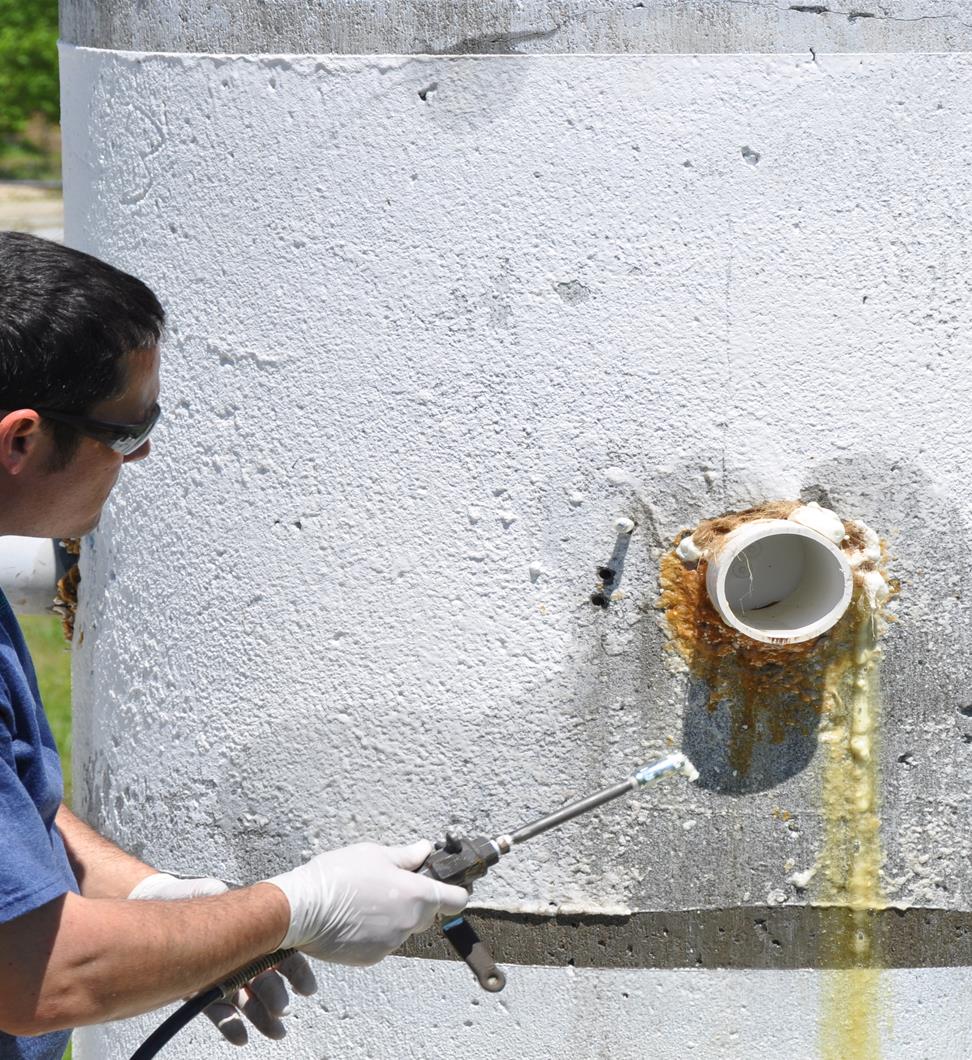
STEP FIVE: PUMP UNTIL REFUSAL
Continue pumping to the point of refusal and you see grout sealing the wall through to the water side. Be sure to use a floating debris boom to capture any reacted polyurethane foam in the water.
STEP SIX: CLEAN OUT OR INSTALL WEEP HOLES
Ensure that weep holes/drain holes are free of grout at the completion of the project. If no weep holes
exist, install a drain hole with a filter; such as a Jet filter or similar product.
Safety Considerations:
To ensure a safe work environment, all equipment used should meet or exceed OSHA (or comparable in other countries) safety requirements.
Materials List:
– Prime Flex 910 or Prime Flex 920. The latter is NSF/ANSI Standard 61 compliant.
– Prime Kat catalyst
Equipment List:
– Pump
– 3-4 empty clean 5-gallon pails
– Personal safety equipment (gloves and eye protection)
– Soil probes
– Expendable drive point
– Floating boom
Related Content:
– Wooden bulkhead repair (Magnolia, TX)
– Rock seawall repair (Anacortes, WA)
– Seawall repair saves big bucks (Palm Beach, FL)
– Seawall Repair, Void Fill – 920 (Lake Harris, FL)
– Seawall Repair, Void Fill – 920 (Delray Beach, FL)
– Seawall Repair – 920 (Lake Park, FL)
– Seawall Repair – 910 (Ft. Lauderdale, FL)